Preface: I am no hardware engineer! (Grain of salt type of stuff)(Pics to follow)
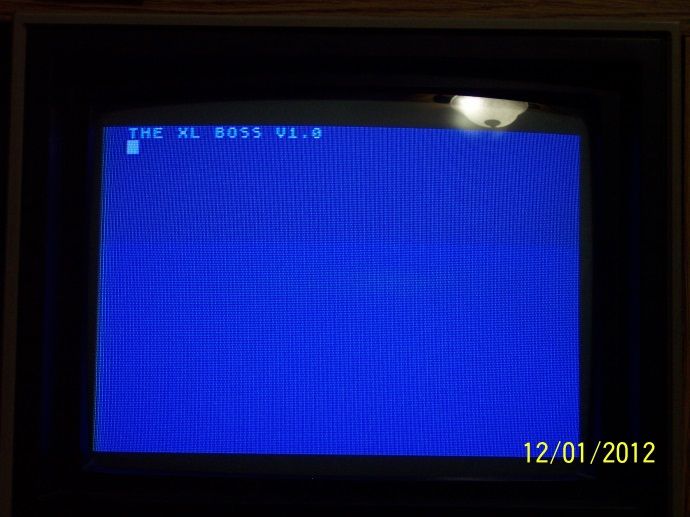
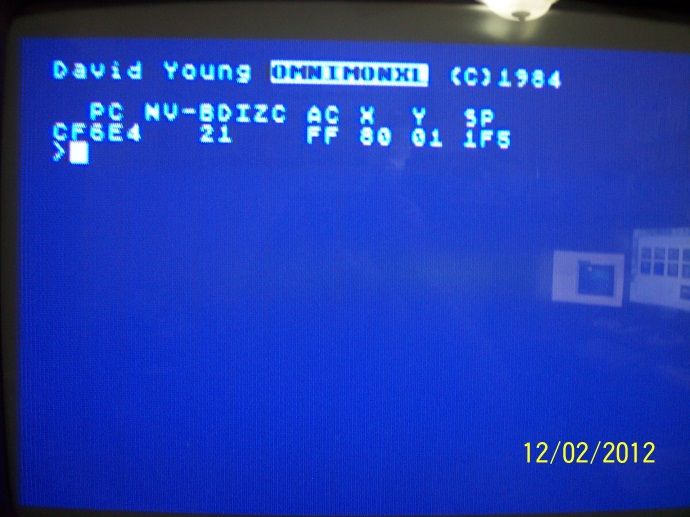
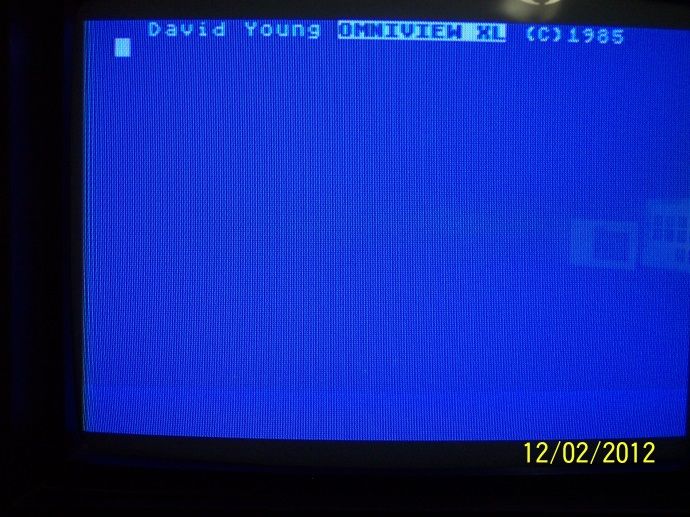
My project for today was to repair my 800XL with 4 OSs. XL, Boss XL, Omnimon XL, and Ominview XL. You know, the way we used to do multiple OSs. I am thankful that we have progressed beyond those days. But even so, I had the hardware, I wanted it to be working.
It has been a long time since this machine was in production and upon opening it I found out why. Wires to the OSs had been pulled loose. Right away I knew what had to be done. They came loose from the external knob. I figured as long as I am doing this, I will put the OSs in the order I wanted them on the knob, as listed above.
I got all of the OSs soldered back onto the knob and fired it up. Cool all the OSs came up just fine, so I began to play for awhile and found some of the keys on the keyboard were not working. Crap, could this be another reason it was in the closet?
I proceeded to change the keyboard, some ICs that traced to the keyboard connector and nothing was helping (I am thankful that EVERY IC was socketed). Ok, now what. It was then that I remembered I had recently bought an 800 XL and 1050 Disk Drive from Craig's list. The 1050 worked but the 800XL went straight to the memory test. Only 4 showed being good. Crap, two non-working computers.
While making lunch I thought about whether I wanted to take a chance on that bad memory 800XL and swap all of the OSs AND the memory over to it, hoping that it worked beyond the memory problem. I decided to go for it.
After lunch I headed to Radio Shack to get some 16 pin sockets and some new wire. Well, if it was more than a memory problem, I did not want to remove the sockets off of the original board. Ok, first Radio Shack only had 4, I am thankful that the next one had 4 also.
Back home, I began to desolder the "bad" memory, replace with a socket and a chip from the original computer. I tested between each change out to find the one(s) that was/were bad. Chips 1-5 no change. <Groan>, is this gonna work? At chip six, I booted into basic. YAY!!!! I did some basic tests to make sure it was working enough to proceed. Memory test and Keyboard tests passed. Replaced the remaining chips with sockets. Now I can move forward with the transfer of the OSs to the new board.
I took note at how the original board was laid out and took some pictures just in case I totally got lost. I know enough to be able to copy what has already been done (enough to be dangerous?). So, I take about an hour to plan what I can do to make all of the connections and keep them all safe from touching something else. First I desoldered the OS on the new board (nothing on this board was socketed). Clipped all the wires on the original board and desoldered the Stack of OSs and left them right in the socket, why push my luck. I cleaned up all the connections on the stack.
I do not have a precision drill for the board so everything was going to have to be loosely (Thankful for shrink wrap). Without placing the stack in the new board (easier to access), I soldered short wires from the OSs and then to the resistors. Then something didn't seem right. According to my pics, I was to ALSO solder the wire to the knob on the same end while soldering the ground to the other end (all you engineers can probably tell me why, but I really just don't care, as long as it works).
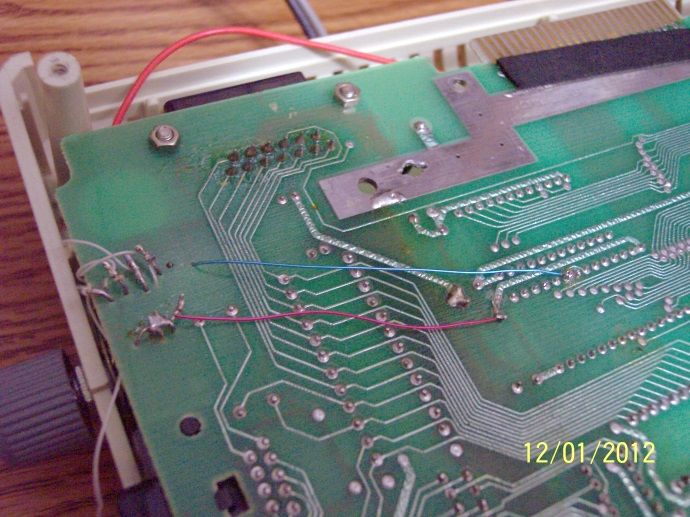
The original board had a red wire coming from another pin on the underside of the board, but I did not have and could not buy red wire so I used white and soldered it to the ground end of the 4 resistors. With the OSs, the wires to the knob, and the grounds all attached, I put shrink wrap around the connections and heated them up. Then I placed the stack in the board and soldered it down attaching a blue wire to one of the pins that goes direct to the knob (What Pin? The one in the pic, lol).
Wow!! all these wire are just floating everywhere. I need to do something about this. I took a good length of shrink wrap and put all of the wires in it without shrinking it as a wire management system (You like that huh?). I included the blue wire too even though it could go direct to the knob, but did this so all wires to the knob come from the same place (My networking experience).
Ok, those OSs are gonna hit the RF Shield, modification time. I made a hole for the OSs to protrude from underneath. Ok, don't laugh, all I had was a pair of tin snips and some needle nose. I know it could have been done better, I just do not have the tools.
It took me all day to refurbish an Omnimon 800XL. Was it worth it? Yea, I think so. I paid $5 for this years ago along with a bunch of other crap in a box (that I am still going through). Also, I gained some knowledge about multiple OSs and have an uncommon piece of hardware.
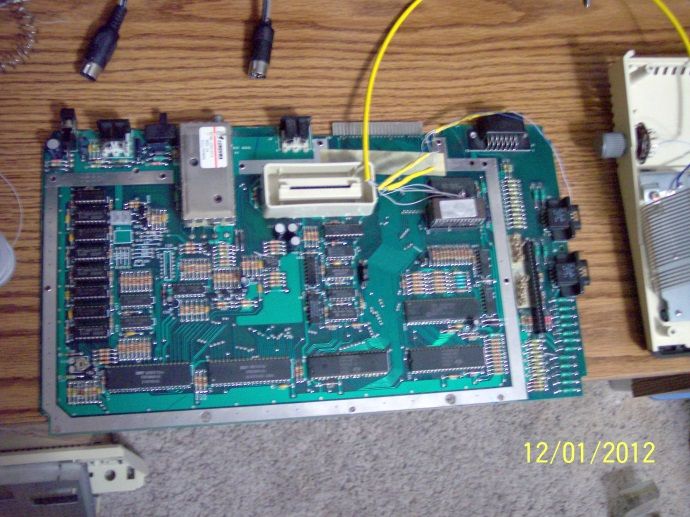
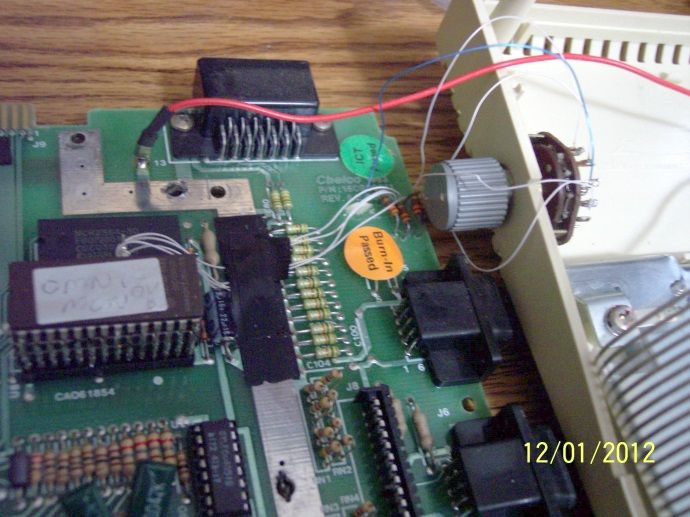
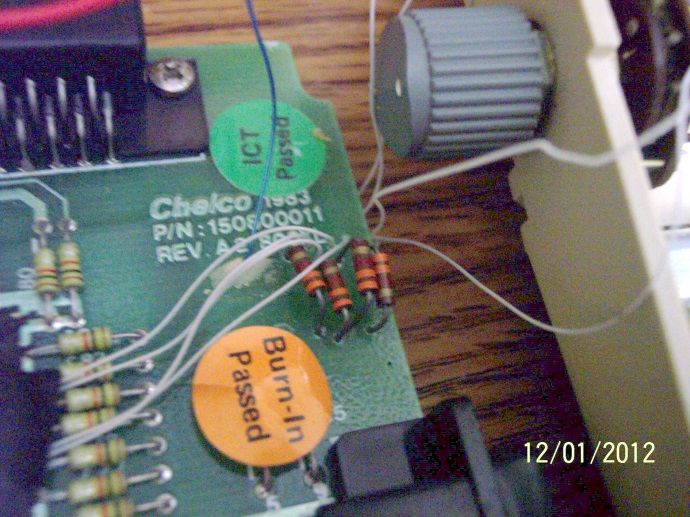
Original Board Pics:
![Posted Image]()
![Posted Image]()
![Posted Image]()
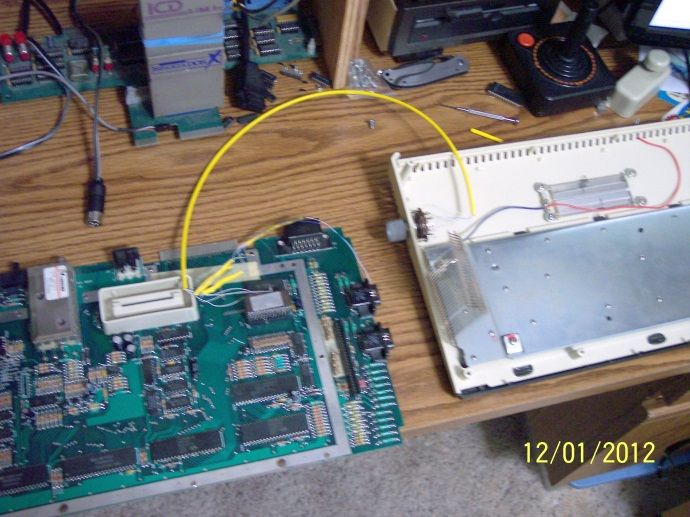
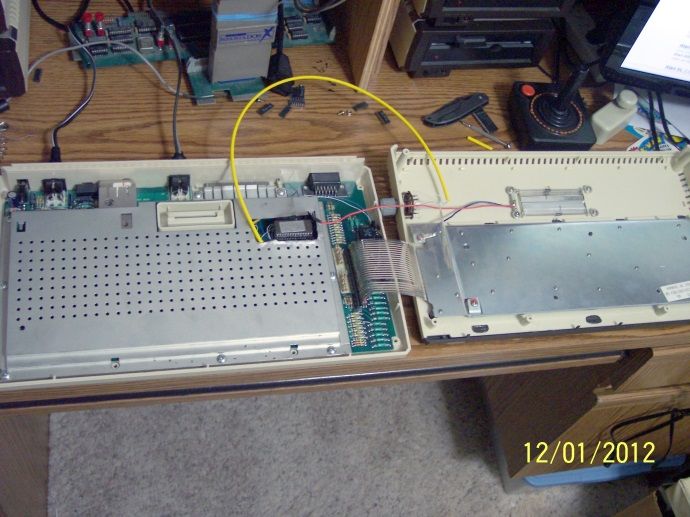
New Board Pics:
![Posted Image]()
![Posted Image]()
![Posted Image]()
![Posted Image]()
![Posted Image]()
![Posted Image]()
![Posted Image]()
![Posted Image]()
My project for today was to repair my 800XL with 4 OSs. XL, Boss XL, Omnimon XL, and Ominview XL. You know, the way we used to do multiple OSs. I am thankful that we have progressed beyond those days. But even so, I had the hardware, I wanted it to be working.
It has been a long time since this machine was in production and upon opening it I found out why. Wires to the OSs had been pulled loose. Right away I knew what had to be done. They came loose from the external knob. I figured as long as I am doing this, I will put the OSs in the order I wanted them on the knob, as listed above.
I got all of the OSs soldered back onto the knob and fired it up. Cool all the OSs came up just fine, so I began to play for awhile and found some of the keys on the keyboard were not working. Crap, could this be another reason it was in the closet?
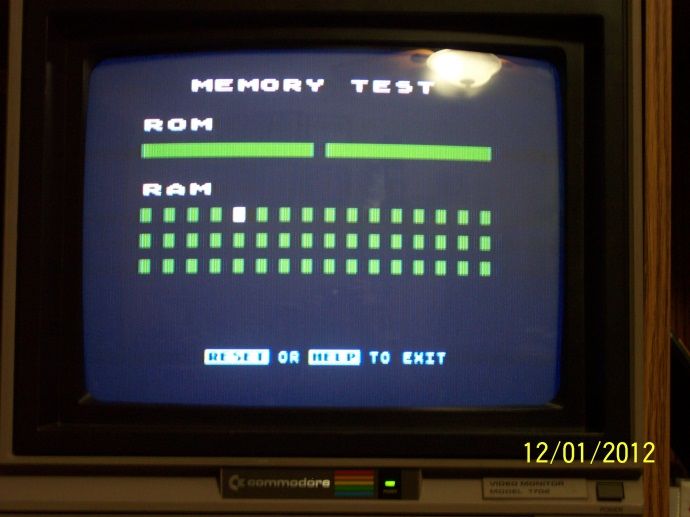
I proceeded to change the keyboard, some ICs that traced to the keyboard connector and nothing was helping (I am thankful that EVERY IC was socketed). Ok, now what. It was then that I remembered I had recently bought an 800 XL and 1050 Disk Drive from Craig's list. The 1050 worked but the 800XL went straight to the memory test. Only 4 showed being good. Crap, two non-working computers.
While making lunch I thought about whether I wanted to take a chance on that bad memory 800XL and swap all of the OSs AND the memory over to it, hoping that it worked beyond the memory problem. I decided to go for it.
After lunch I headed to Radio Shack to get some 16 pin sockets and some new wire. Well, if it was more than a memory problem, I did not want to remove the sockets off of the original board. Ok, first Radio Shack only had 4, I am thankful that the next one had 4 also.
Back home, I began to desolder the "bad" memory, replace with a socket and a chip from the original computer. I tested between each change out to find the one(s) that was/were bad. Chips 1-5 no change. <Groan>, is this gonna work? At chip six, I booted into basic. YAY!!!! I did some basic tests to make sure it was working enough to proceed. Memory test and Keyboard tests passed. Replaced the remaining chips with sockets. Now I can move forward with the transfer of the OSs to the new board.
I took note at how the original board was laid out and took some pictures just in case I totally got lost. I know enough to be able to copy what has already been done (enough to be dangerous?). So, I take about an hour to plan what I can do to make all of the connections and keep them all safe from touching something else. First I desoldered the OS on the new board (nothing on this board was socketed). Clipped all the wires on the original board and desoldered the Stack of OSs and left them right in the socket, why push my luck. I cleaned up all the connections on the stack.
I do not have a precision drill for the board so everything was going to have to be loosely (Thankful for shrink wrap). Without placing the stack in the new board (easier to access), I soldered short wires from the OSs and then to the resistors. Then something didn't seem right. According to my pics, I was to ALSO solder the wire to the knob on the same end while soldering the ground to the other end (all you engineers can probably tell me why, but I really just don't care, as long as it works).
The original board had a red wire coming from another pin on the underside of the board, but I did not have and could not buy red wire so I used white and soldered it to the ground end of the 4 resistors. With the OSs, the wires to the knob, and the grounds all attached, I put shrink wrap around the connections and heated them up. Then I placed the stack in the board and soldered it down attaching a blue wire to one of the pins that goes direct to the knob (What Pin? The one in the pic, lol).
Wow!! all these wire are just floating everywhere. I need to do something about this. I took a good length of shrink wrap and put all of the wires in it without shrinking it as a wire management system (You like that huh?). I included the blue wire too even though it could go direct to the knob, but did this so all wires to the knob come from the same place (My networking experience).
Ok, those OSs are gonna hit the RF Shield, modification time. I made a hole for the OSs to protrude from underneath. Ok, don't laugh, all I had was a pair of tin snips and some needle nose. I know it could have been done better, I just do not have the tools.
It took me all day to refurbish an Omnimon 800XL. Was it worth it? Yea, I think so. I paid $5 for this years ago along with a bunch of other crap in a box (that I am still going through). Also, I gained some knowledge about multiple OSs and have an uncommon piece of hardware.
Original Board Pics:
New Board Pics: